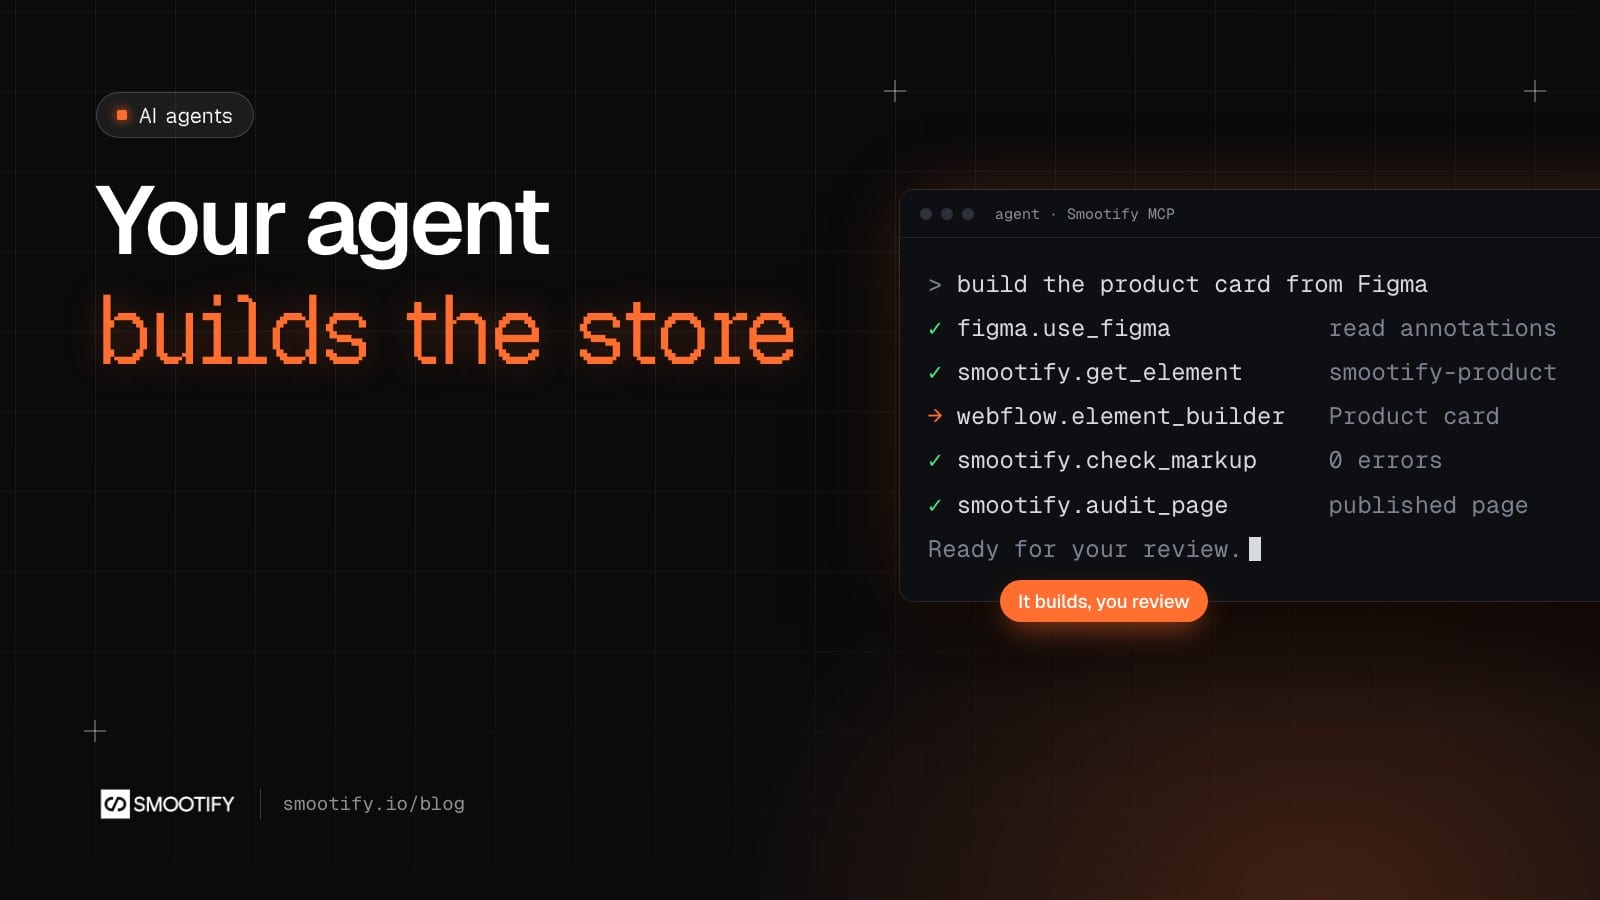
Ask an AI agent to build a Shopify store in Webflow or Astro and it will try. It will also write markup from memory. It invents an attribute that sounds right, puts a swatch outside its product, or copies something Smootify 1.x did and 2.0 no longer reads. The page looks finished and does nothing when a customer opens it.
So we gave the agent files to read and checks to pass at every step. This is the pipeline as it runs today, from a Figma file to a published store, with the steps that stay yours.
First, what is being built
Smootify connects a site built in Webflow or Astro to a Shopify store: pages are the site’s, products, checkout and orders are Shopify’s. It is one Shopify app with 17 add-ons, billed on the Shopify invoice, plus a Webflow app (in Astro, the @smootify/astro package) and one script that fills the site’s elements with live data: a Heading with product="title" inside a smootify-product shows that product’s title.
That markup is what the agent has to get right. Every rule it follows is in the public markup contract: 113 elements, 48 templates, and every attribute value.
Step 1: the kit
The agent does not start from a blank canvas. It starts from the Smootify 2.0 Starter UI Kit, a free file on the Figma Community. It holds 116 components and 763 variants: cards, filters, gallery, variant pickers, add to cart, cart, account, markets, magic box, booking. Every state is drawn inside the component: sold out, empty, error, logged in, the “Adding…” of a button.
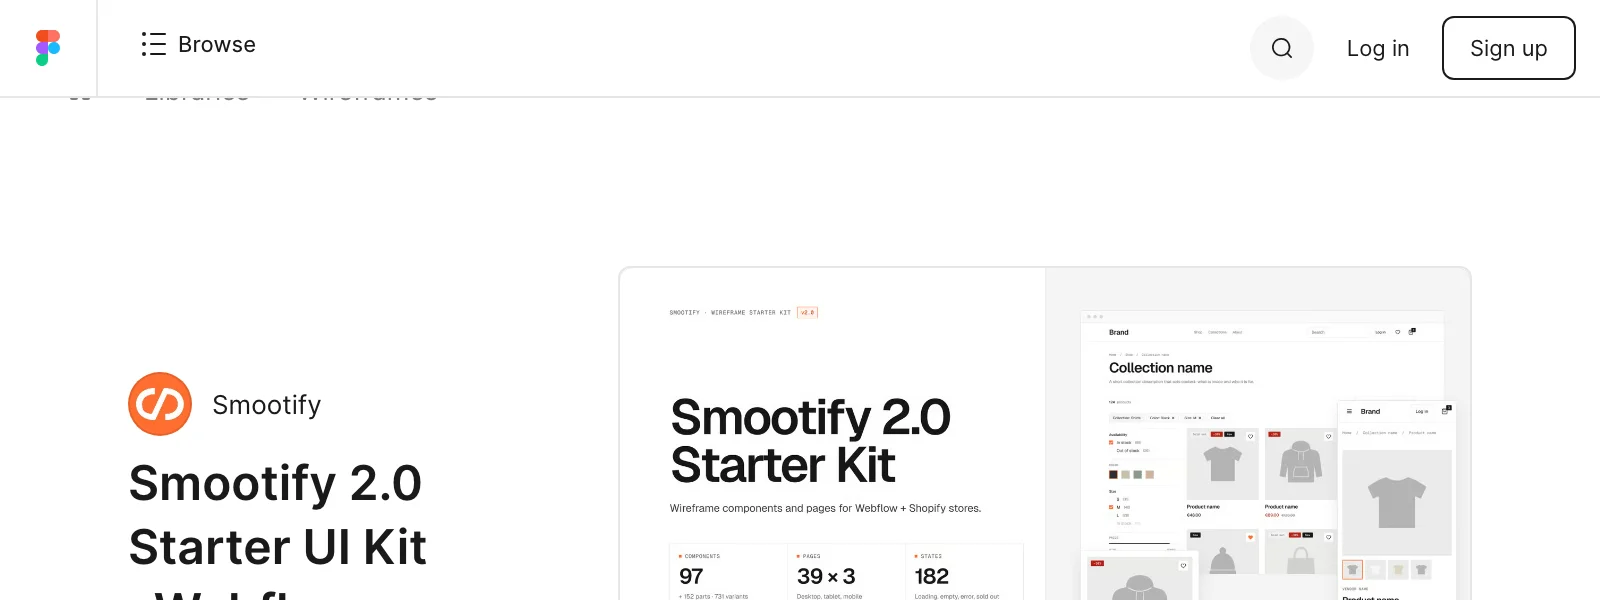
The names map to the markup: Product / Card or Cart / Line item each stand for a known set of Smootify elements, so composing from the kit already means choosing markup that exists. You review the frames before anything is built.
Step 2: the annotations
A designed frame does not say what it does. Is that row of pills a variant picker, an add-on or a configurator field? Is that image a Webflow Image or an img that keeps the photo on Shopify’s CDN? The Figma annotation skill answers these questions and writes the answers into the file.
It starts with four questions that hold for the whole file, asked in one message before it reads anything: the product image (a Webflow Image bound to the CMS Image field, or an img bound to Image URL and Image Alt), the Webflow site if one exists, the plan (with the server plan or without), and how menus that open are built (Dropdown, native select or popover). The answers go on the first frame as one @setup line.
Then it works in two checkpoints. First an inventory: which Webflow components the design needs, each built once. Then the plan: per component its variants, props and what each prop is bound to, and per page where each instance is connected. You approve both before it writes. When the design does not settle a choice, it asks. If you do not know yet, it writes @ask on the layer, and the build skill will not build that part until someone answers.
The output is one Dev Mode annotation per layer, in a category called Smootify, on one line: @component, @prop, @bind, @tag, @attr, @cms, @manual. Attribute values come from the 2.0 glossary, which the skill downloads from the CDN at the start of each run, so it annotates with the vocabulary of the current runtime. When the CDN cannot be reached it uses the copy inside the skill and tells you.
Before the report, it runs check_annotations from the Smootify MCP. Here is a real run on the example component of the annotation format, with three mistakes put in on purpose:
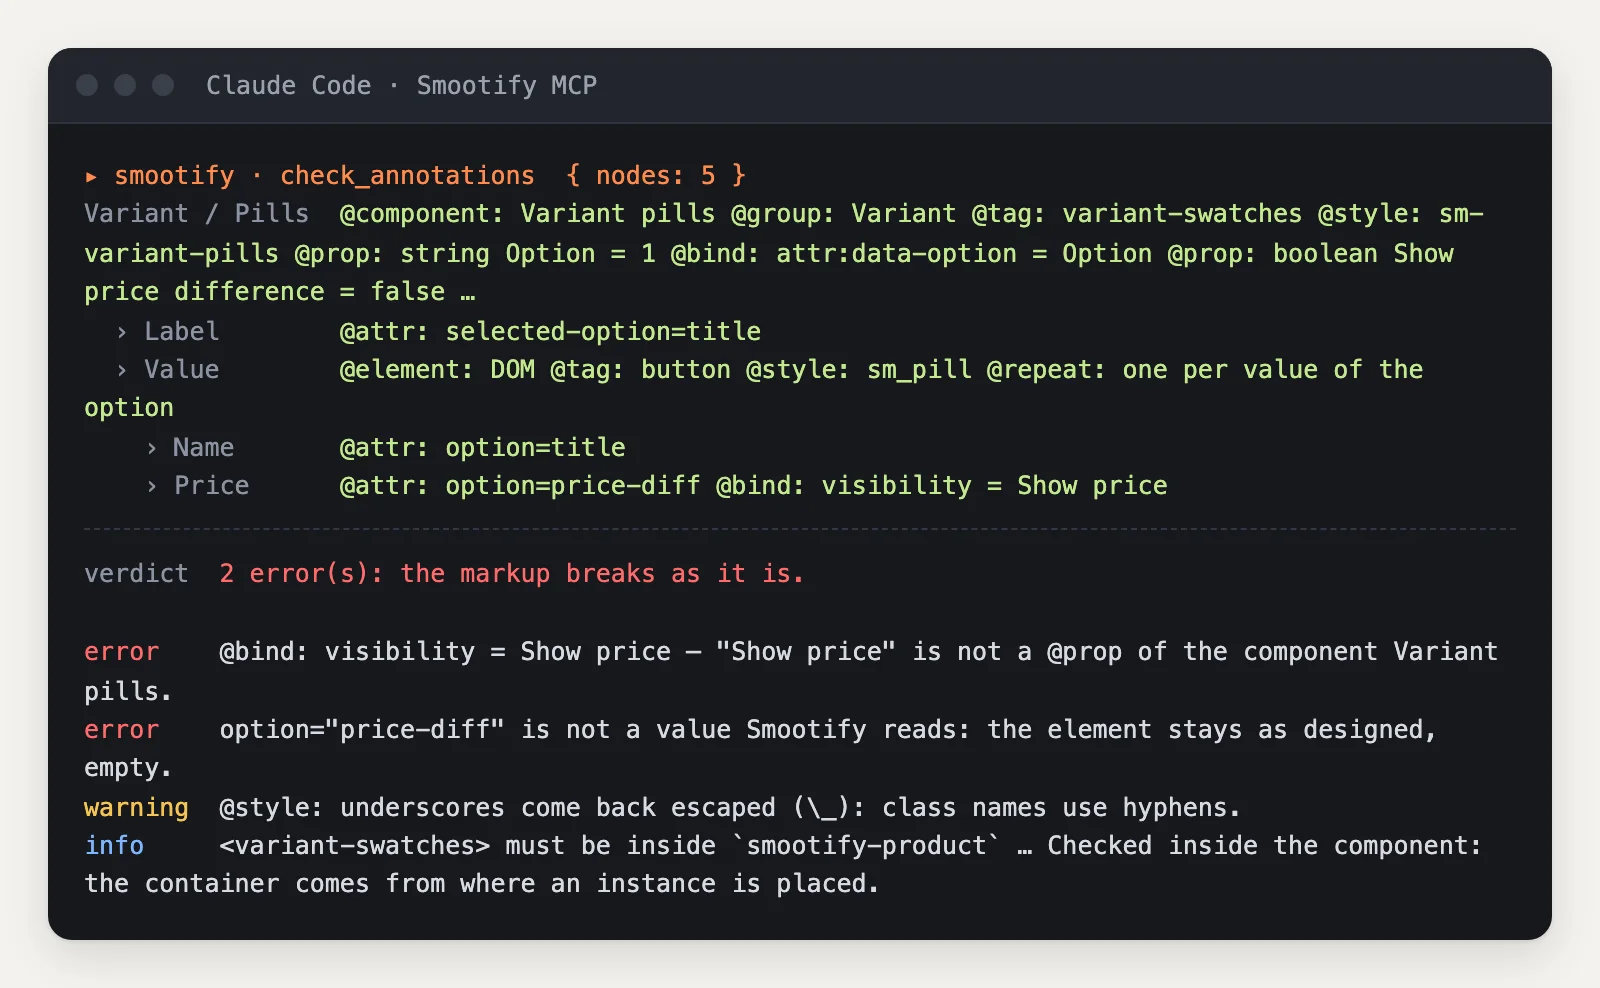
A @bind to a prop that does not exist, option="price-diff" instead of price-difference, and a class with an underscore. All three would have reached Webflow without an error.
Step 3: the Webflow build, through the MCP
The Figma to Webflow skill reads the annotations and builds with the Figma MCP and the Webflow MCP. Before the first element it asks for everything it cannot do itself, in one message: the Webflow site with Smootify connected and the Designer open with the Webflow MCP app, the licence with the plan and add-ons the design uses, the store with its products, metafield definitions and CMS sync, and the Customer Account API client id if the design has account pages. Then it adds the Smootify loader to the site’s head code, because without it nothing works on the published site and nothing in the Designer shows why.
On an Astro project the same skill writes .astro components into the project instead, and checks them with the Smootify MCP’s check_markup. The rest of this step follows the Webflow build; the Astro side is in the Astro docs.
Each component is built in the same order: root, component, props, children, bindings. An attribute that changes per instance is bound to a prop, so one card serves the home grid, the collection page and the related products.
One rule is in bold: never use Webflow’s data_whtml_builder. We tested it: it deletes custom tags, so a smootify-product disappears, and it drops every attribute that does not start with data-, most of the Smootify vocabulary. The build reports success and the page looks right. The skill builds element by element instead.
Then it checks its own work on the published page, at desktop, tablet and phone width, as a shopper would. No href="#" left, panels that open and close, empty states for an empty cart or a visitor who is not logged in, no Webflow sample text such as “Email Form”, and check_markup from the Smootify MCP on each component’s tree.
What it looks like
Millimetro, one of our three demo stores, went through this pipeline. Its Figma file was annotated with the annotation skill and built in Webflow through the MCP, then reviewed by people. Desk No. 3 is its most demanding page: a wood picker with price differences, width and depth that change the price, engraving at €0.30 a letter and a logo upload.
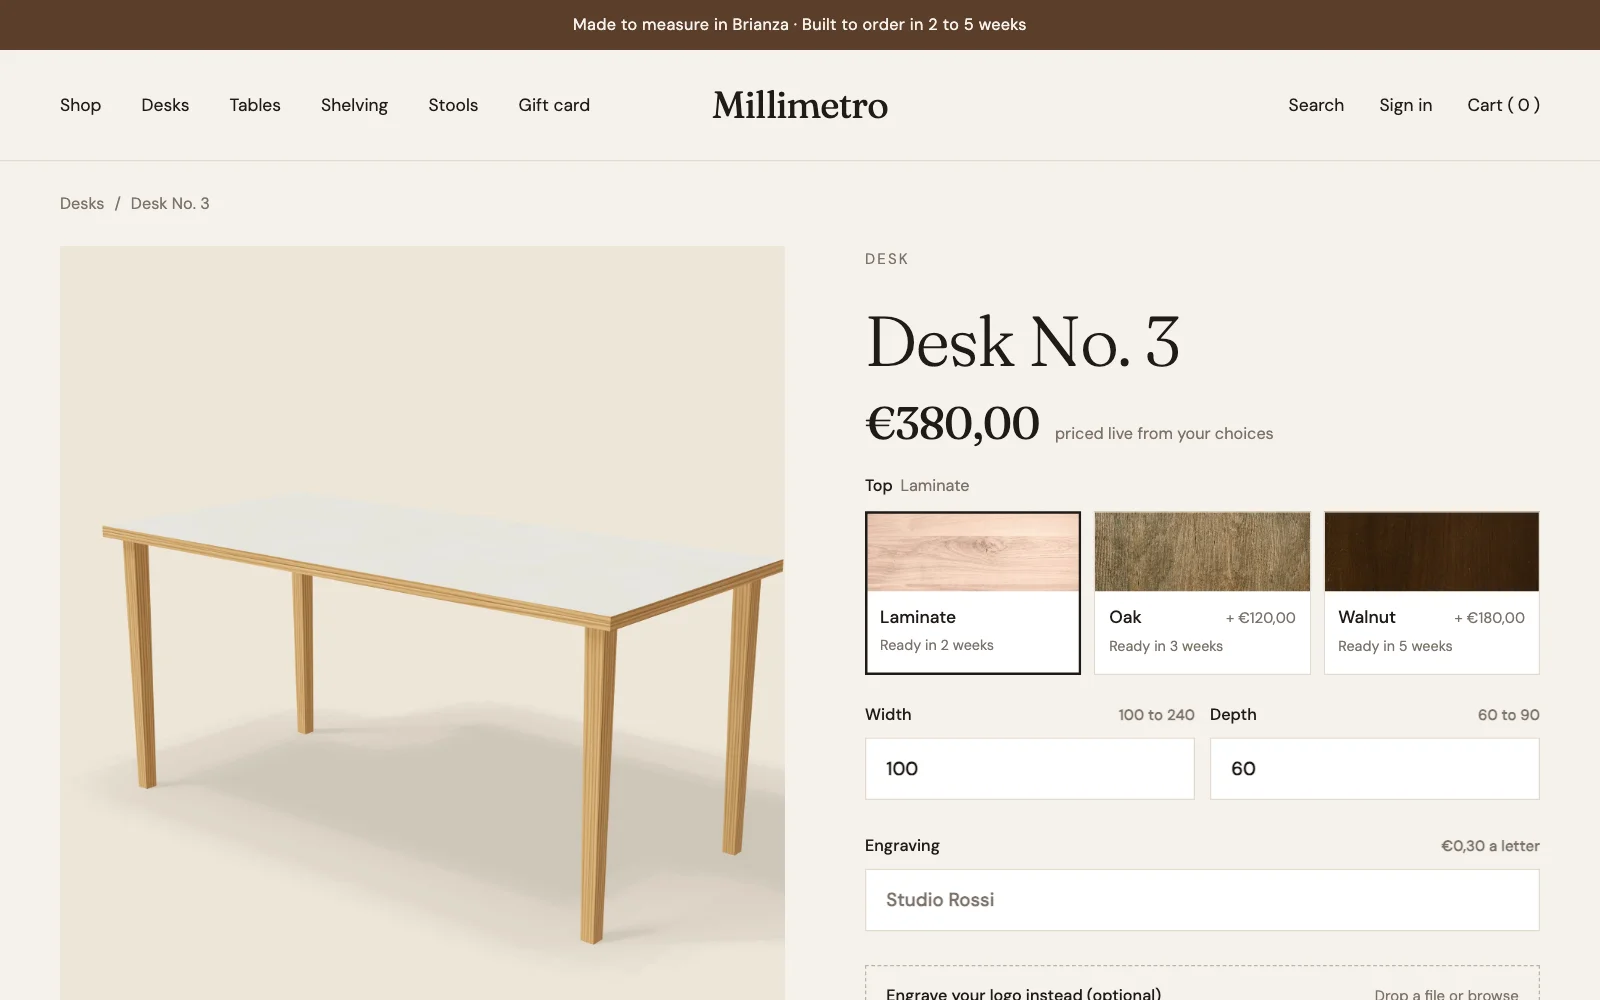
Both halves are public, the Figma file and the Webflow project: compare them. Millimetro is online in Astro too, at millimetro-astro.smootify.io.
Step 4: you review, connect and publish
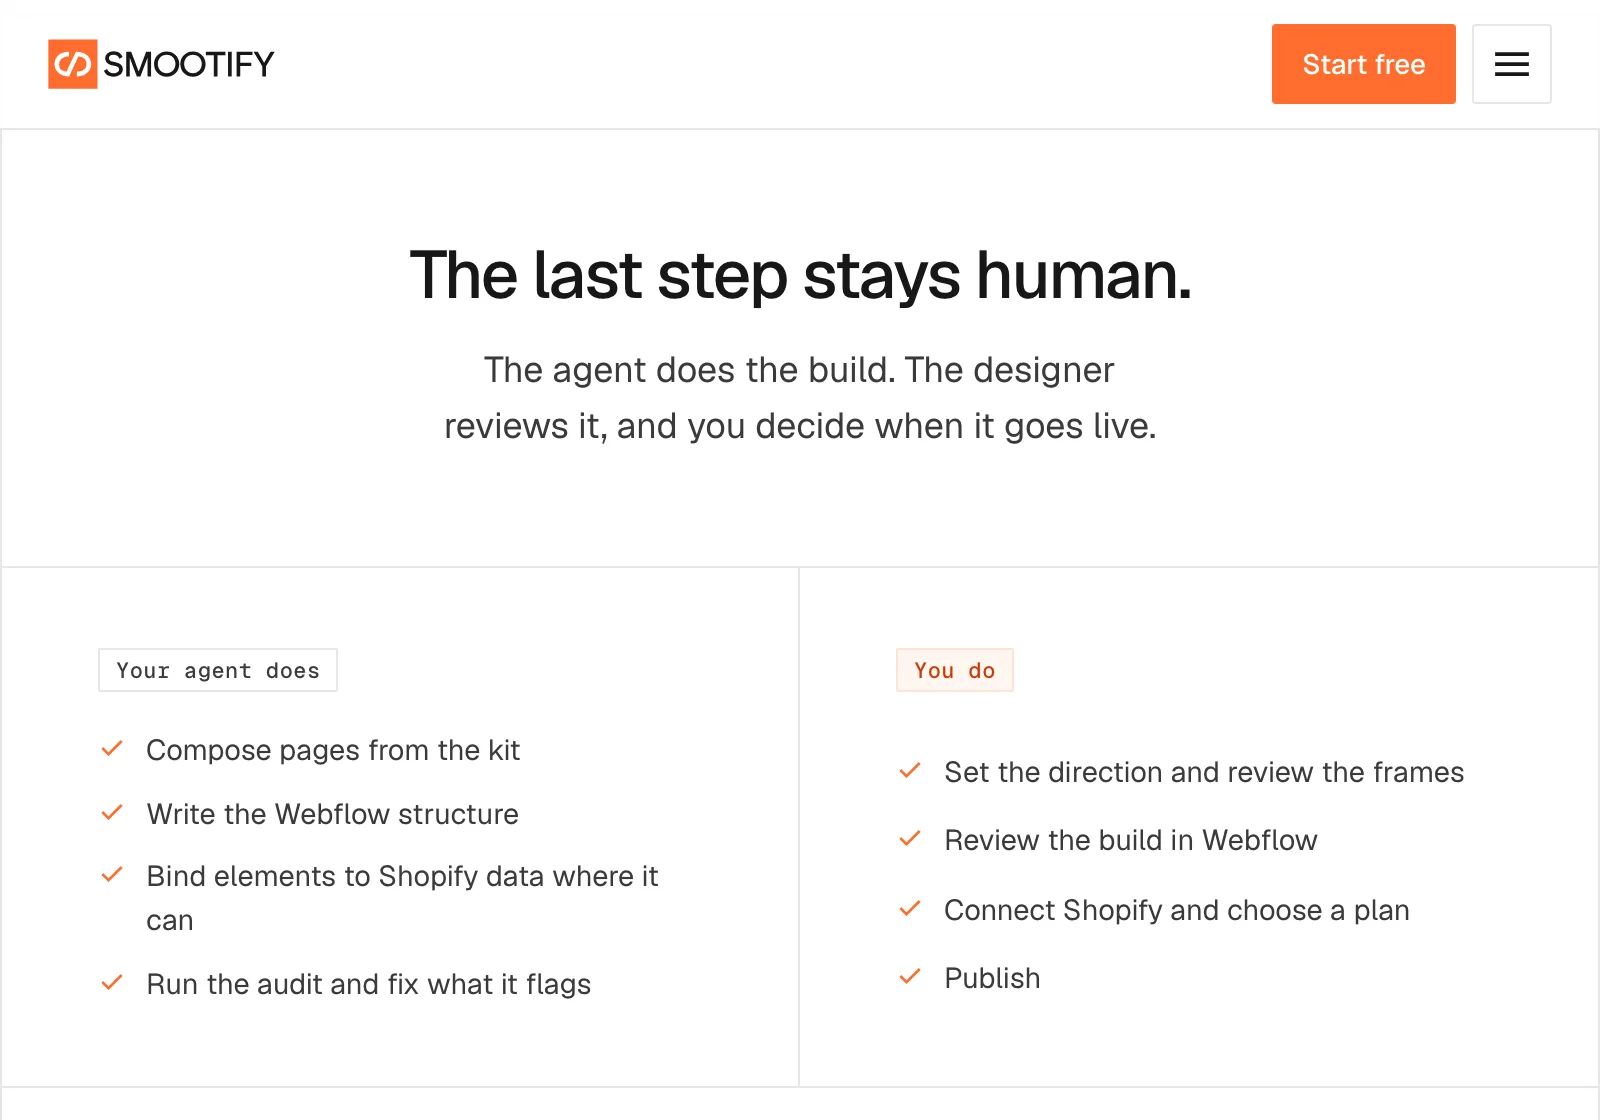
The build skill never publishes the site, never connects your Shopify store and never chooses a plan. Those three are yours, and the last step on the Figma to store page says so.
The report also lists what no tool can do through the Webflow MCP today, so you know where to look in the Designer: input placeholders, form names, Webflow’s native Popover element, conditional visibility by component variant, redirects, deleting pages and the 404 page. Each one comes with the page and the element.
When the build does not do what you expect
Check these first
- The published page shows sample text instead of products. The Smootify loader is not in the site’s head code. Check the page source first.
- The account pages come out empty. The options script has no Customer Account API client id, so Smootify turns the login off.
- An element looks right in the Designer and does nothing. An attribute value is not in the glossary, or the element sits outside the one it needs. Run
check_markupon its tree. - The build stops on a layer. It carries an open
@ask. Answer it in the file and run the build again.
The kit, the two Figma skills, the MCP and the contract are all public, so you can read exactly what your agent reads. Start from the Figma kit, then load the skills.