Most stores collect more than orders. A warranty registration after a machine part is installed. A reseller application. A sign-up for a workshop. Two questions a week after delivery. A photo of a part that arrived damaged.
On a Webflow site, all of these start the same way: drag in a Form Block, add some fields, publish. The submissions land in Webflow’s form submissions, and an email arrives. It works on day one, so nobody stops to ask where the data went.
That is the choice designers make without noticing they made it. The same Form Block can send its answers to two very different places, and the place decides whether the data belongs to a customer or sits orphaned in a table.
Two places for the same form
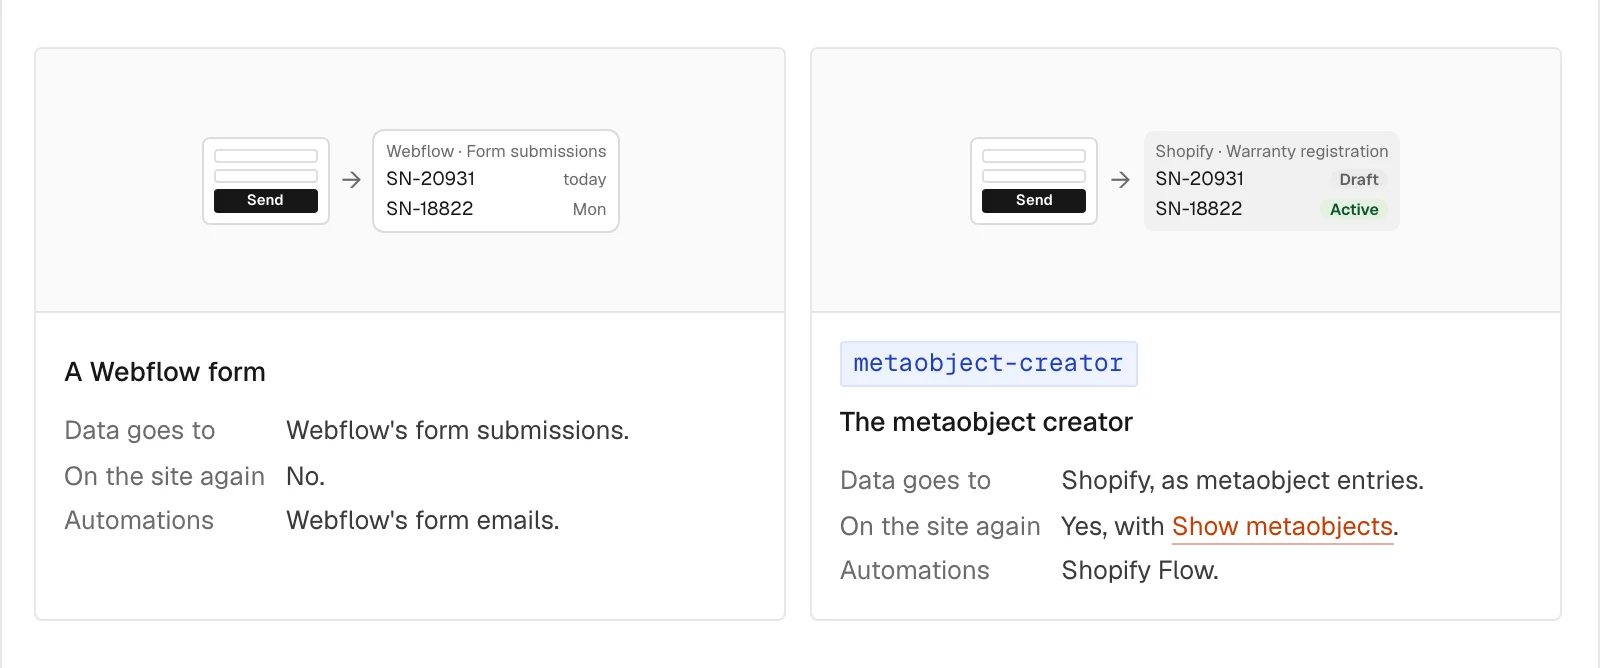
| Webflow form | Metaobject creator | |
|---|---|---|
| Where the data goes | Webflow’s form submissions | Shopify, as metaobject entries |
| Linked to the customer | no | yes, with customer-field |
| Shown again on the site | no | yes |
| What reacts to it | an email | Shopify Flow |
With a plain Webflow form, a warranty registration is a row with a name and an email. Somebody has to export it, find the customer in Shopify by hand, and copy the serial number across. When the customer calls in two years, the registration is in a spreadsheet nobody remembers.
With metaobject-creator, the same Form Block, wrapped in one Custom element, saves each submission as an entry of a metaobject definition in Shopify. The data sits next to the products, orders and customers it is about.
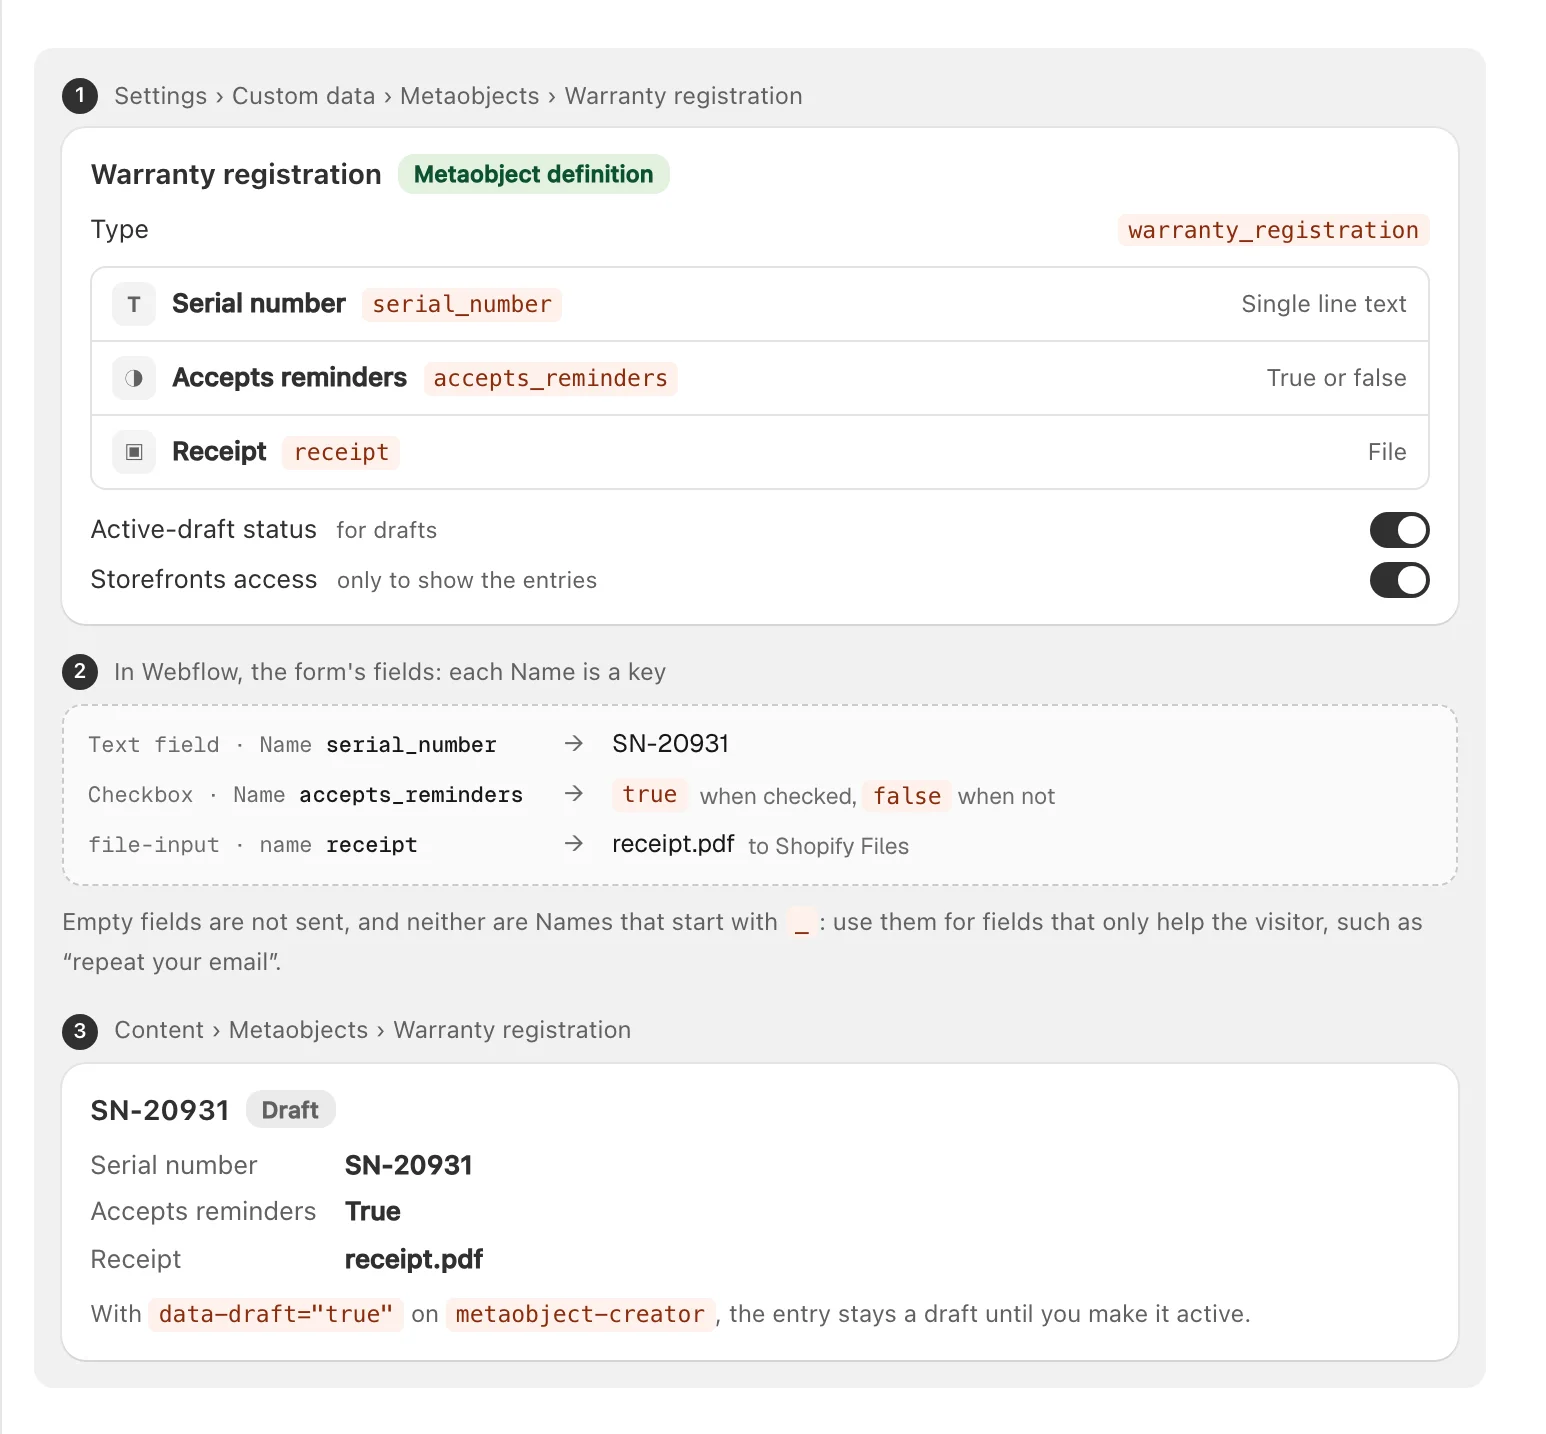
The field Names in the form are the keys of the definition: a Text field named serial_number fills the field Serial number. Smootify’s server turns each value into the field’s type, so a checkbox becomes true or false and a file-input puts the file in Shopify Files.
The site does not have to be in Webflow. Built in Astro, the same metaobject-creator wraps a plain <form>, with the same keys and the same entries in Shopify: see the metaobject creator for Astro.
A registered warranty becomes a warranty the customer can look up
On Spannbach, our B2B demo store for industrial parts, the warranty page has a form: the product, chosen from the customer’s orders, the serial number, the purchase date, the order number, and a file-input for the receipt or delivery note. The form is a metaobject-creator with data-type="warranty" and one more attribute: customer-field="customer".
That attribute does three things.
- It links the entry to the customer. There is no hidden field to fill. Smootify’s server finds out who is logged in and writes that customer into the entry’s Customer field. A value sent with the form under that key is ignored, so nobody can register a warranty in someone else’s name.
- It keeps a list on the customer. Each new entry goes first into the customer’s metafield
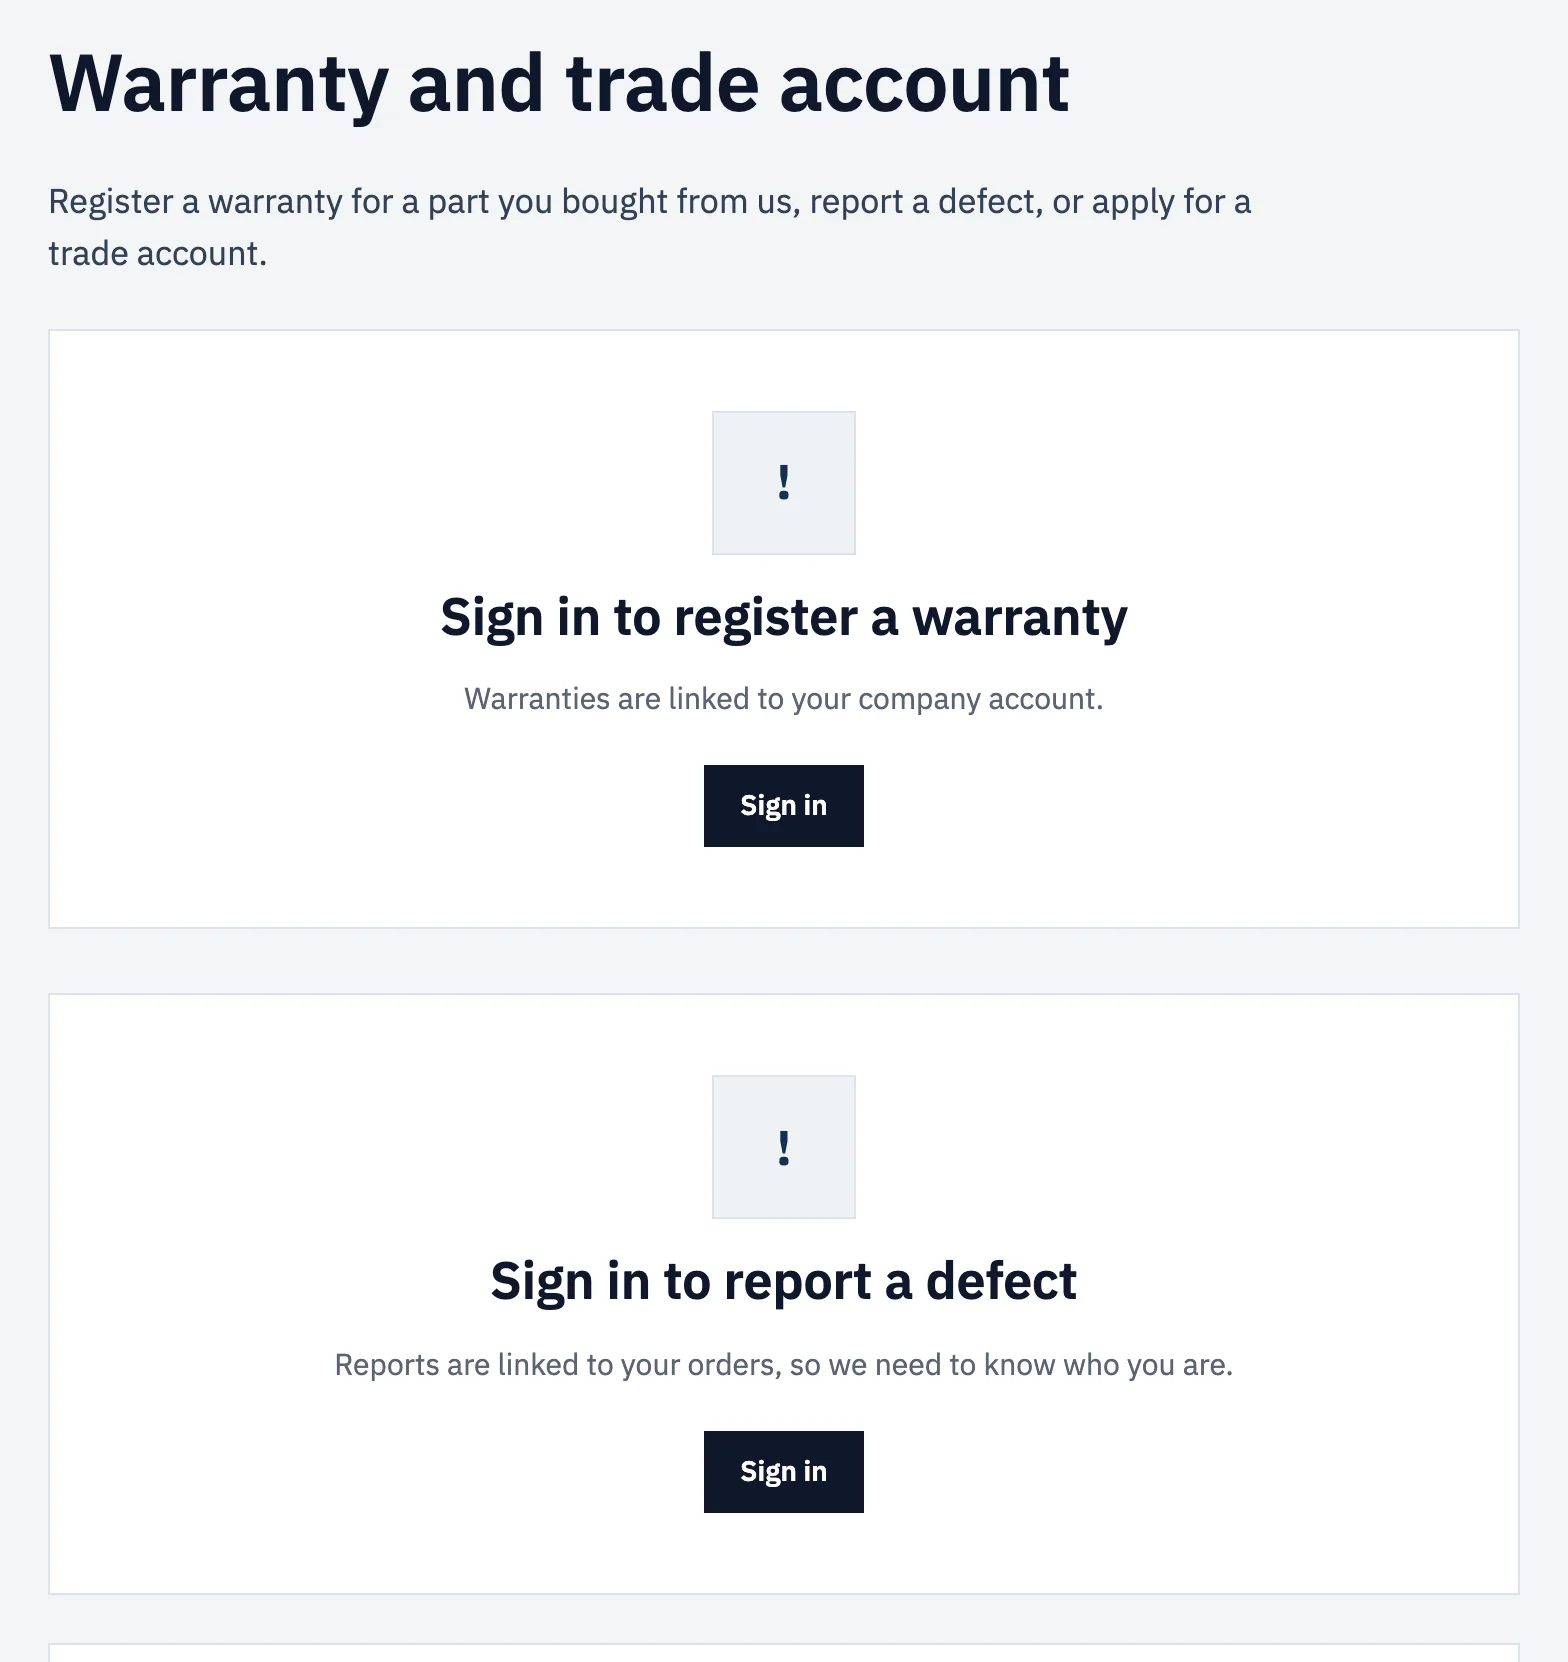
smootify.warranty, which Shopify creates the first time. - It shows the form only to logged-in customers. Until the buyer signs in, the form stays hidden. Spannbach puts a sign-in card in its place, with
customer-condition="not-logged-in".
Then the account page reads it back. A smootify-metaobjects with data-type="metafield.smootify.warranty" and data-parent-id="customer" lists the buyer’s warranties, with the serial number, the purchase date, the date the cover ends and the status. Spannbach’s test buyer has three: two LG-20 rails bought in February, covered until February 2029, and a ball screw from June. A registration is no longer something sent into the void. It is something the customer can open.
The customer can also be allowed to fix it. A metaobject-editor opens an entry the customer created, with the form filled in, so a serial number with a typo can be corrected or a clearer delivery note uploaded. A Custom element with the tag button and data-action="delete" removes the entry. Only the customer who owns the entry sees the editor, and it needs the same plan and add-on as the form.
The same pattern, five times
The warranty is the clearest case, but the pattern repeats. Spannbach’s page already has three more forms of the same kind:
- Trade applications: company, VAT number, country, sector, yearly volume, a work email and the company register extract. This one is for companies new to the shop, so it has no
customer-field. - Defect reports: the order, the part, the reason, how many are affected, a description and up to three photos, linked to the customer who sent them. Your team starts from structured data instead of an email to decode.
- Feedback after delivery: a score from 0 to 10, a comment and permission to follow up, for the team only. Nothing is shown on the site.
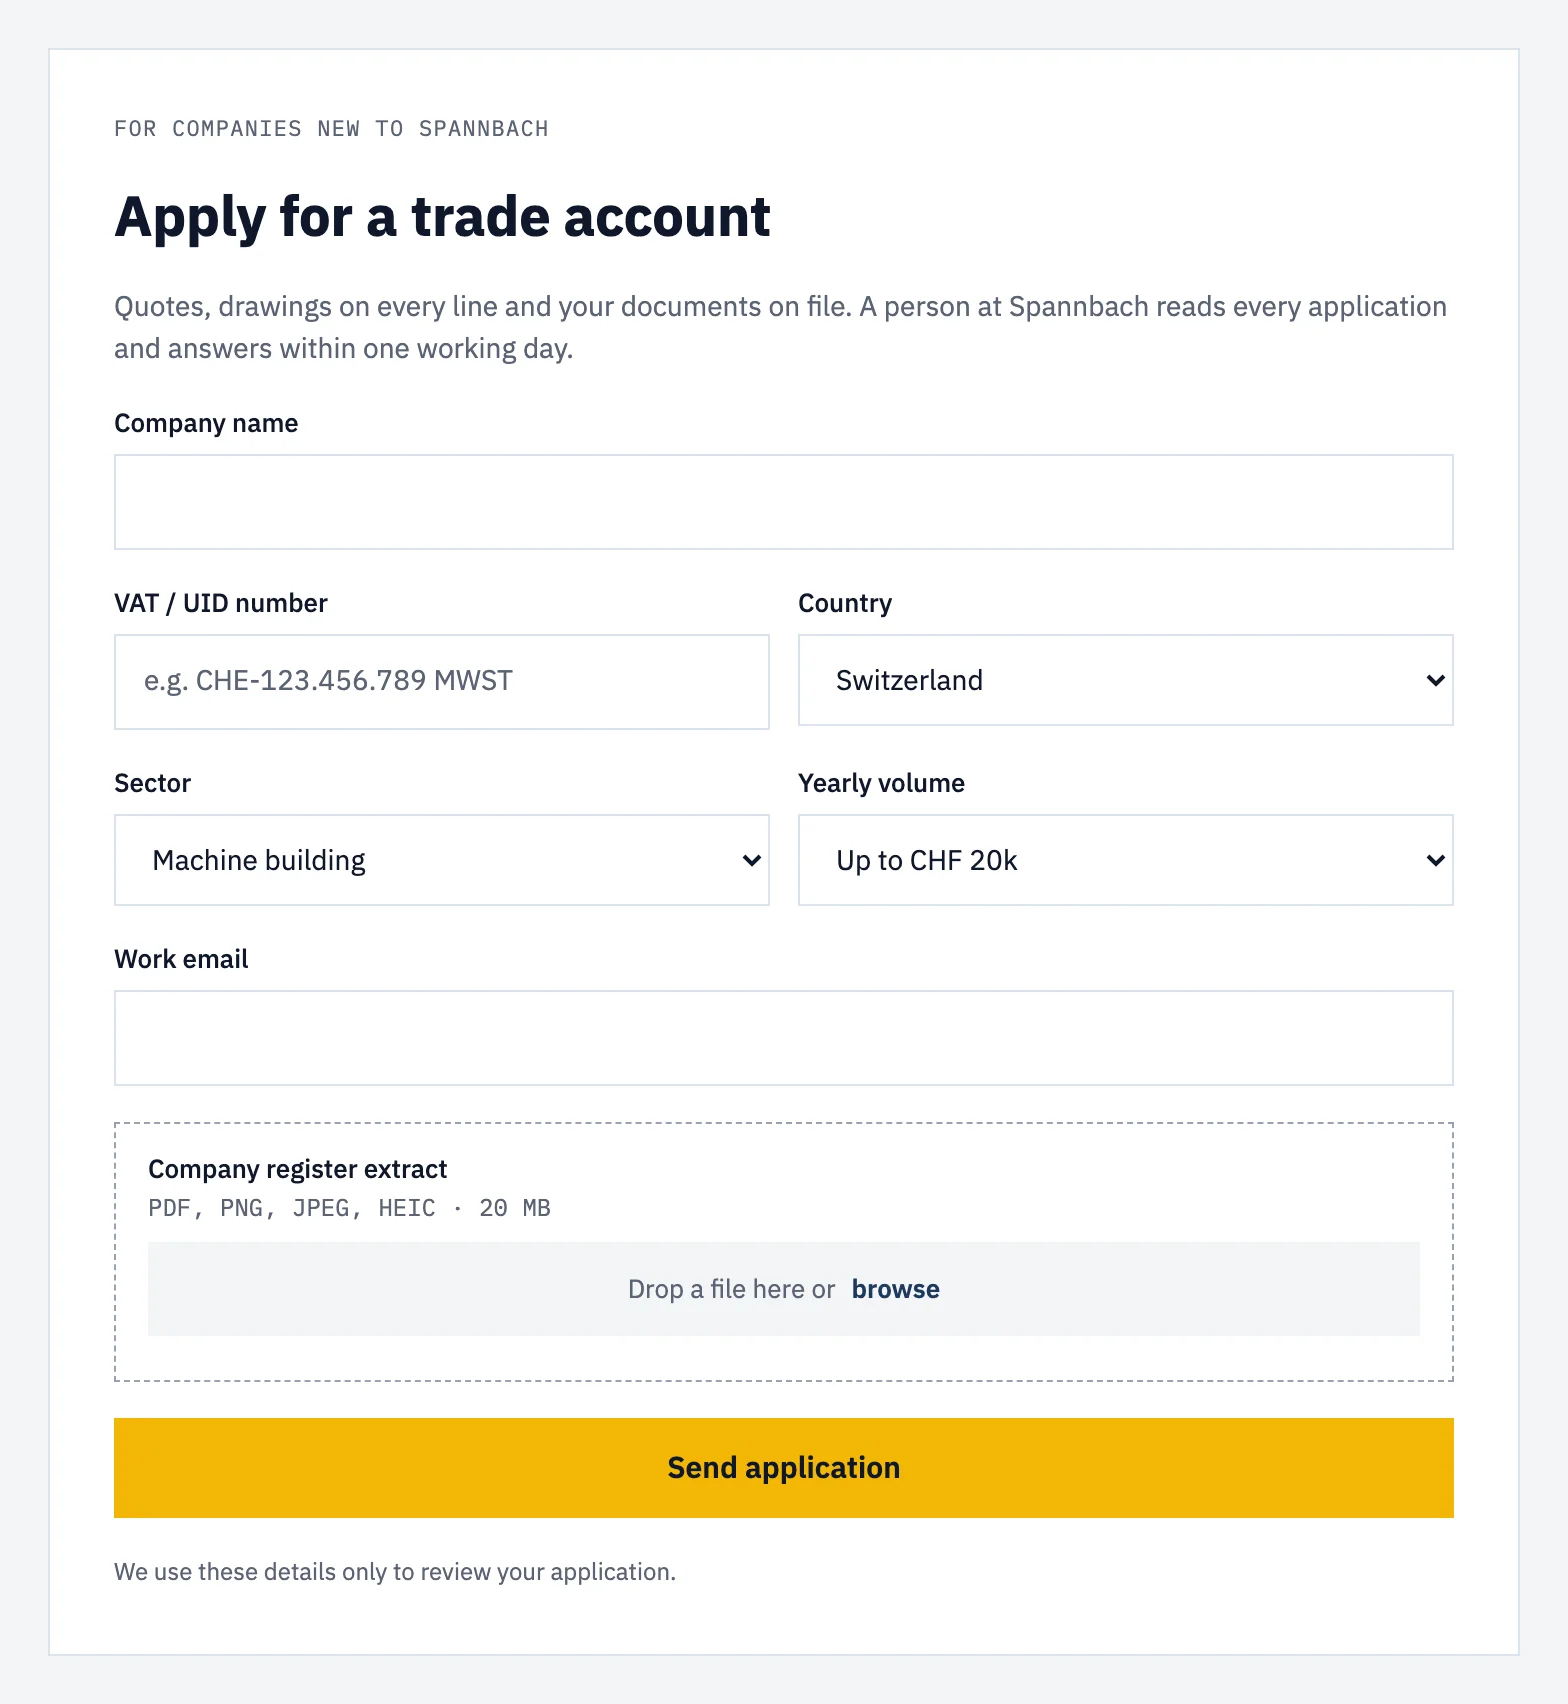
Add event or course sign-ups, where name, date and notes land where your customers already are, and you have five.
Every entry can start a workflow in Shopify Flow, the free Shopify app: tag the customer, write a metafield, send a message to your team. The Flow library has ready-made ones, such as Trade registration, which tags an applicant as pending and tells your sales team on Slack. It expects the applicant to be logged in, with customer-field on the form.
Where it stops working
- The form disappears on the live site. The metaobject creator needs the Server plan and the Metaobject creator add-on, on the licensed domain. Without them, Smootify removes the element.
- A Name does not match a key. Webflow renames fields when you copy a form. The entry is refused, and the form’s Error message names the field. “Serial number” works too: Smootify turns it into
serial_number. - Nobody can see the form. With
customer-field, only logged-in customers see it. Put a login link next to it for everyone else. - The entries are saved but the account list is empty. The definition needs Storefronts access for the site to read the entries back. A form that only collects, such as a defect report, does not need it.
- A column of the account list is empty. The list can only show fields the form fills. If the form saves the product as a reference, show the product from that field, not from a text field that nobody writes.
One more thing: these forms collect personal data, often more than an email. Say on the form what you collect and why, and decide which of your Shopify staff can see the entries.
The Collect data with forms guide has the steps, from the definition in Shopify to the editor in the account.